Setup choice
PETG vs ASA For Outdoor Parts
PETG vs ASA For Outdoor Parts separates early adhesion failure from late cooling stress. Use a small corner coupon before adding brim, glue, enclosure changes, or a new plate.
Independent third-party notes. Verify firmware, heater, electrical, and vendor-specific work against official documentation for your exact printer.
Quick Readout
PETG vs ASA For Outdoor Parts separates early adhesion failure from late cooling stress. Use a small corner coupon before adding brim, glue, enclosure changes, or a new plate.
Pick what you see
Pick the PETG vs ASA For Outdoor Parts branch
Choose the visible evidence or log clue that matches first. The card below keeps the next move to one test and one variable.
Corners lift during the first few layers.
- Likely cause
- Dirty plate, weak first-layer squish, or too-cold bed.
- First test
- Wash the plate and run the corner coupon.
- Change only this
- Change only cleaning or Z offset first.
- Parameter range
- PLA 55-65 C, PETG 70-85 C, ASA/ABS 90-110 C
- Stop when
- Corners stay down through first layers.
- Verify with
- No-brim coupon corner timing.
Pick the exact path
Most failed fixes go wrong when they start from the wrong branch.
Use this when the failure appears on PETG or the closest matching setup.
- First test
- Wash the plate and run the corner coupon.
- Change only this
- Change only cleaning or Z offset first.
- Stop when
- The repeat test clearly improves or points to a different branch.
Use this if the symptom started after a nozzle, spool, plate, slicer, firmware, or maintenance change.
- First test
- Restore the last known-good context or isolate only the recent change with one small repeat test.
- Change only this
- Undo or isolate the recent change; do not retune the whole profile.
- Stop when
- The repeat test clearly improves or points to a different branch.
Use this when the first proof test looks the same after one safe variable change.
- First test
- Repeat the same test once to rule out a bad slice or one-off print.
- Change only this
- Switch branch instead of stacking another setting.
- Stop when
- The repeat test clearly improves or points to a different branch.
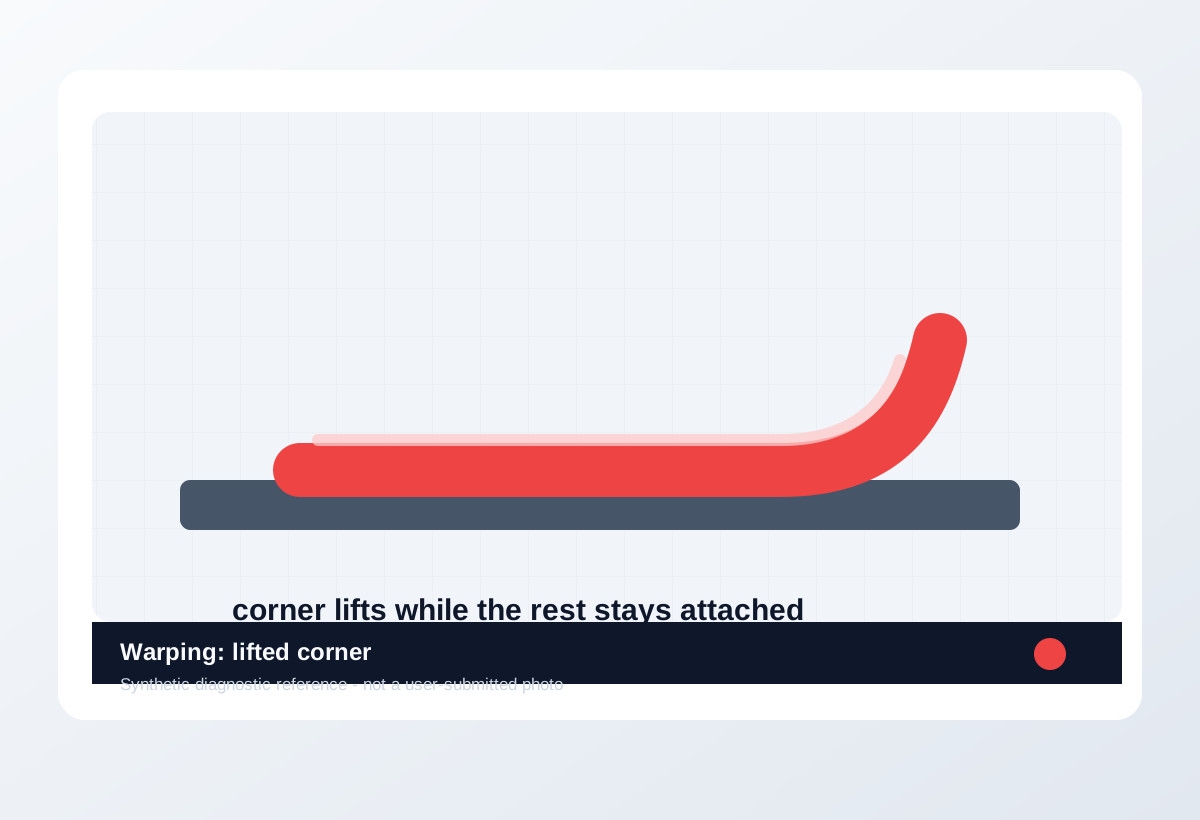
Visual diagnosis
Match the visible pattern before changing settings.
Synthetic diagnostic reference or structured visual guide; confirm with the page test before treating it as proof.
- PETG vs ASA For Outdoor Parts repeats on the same printer, material, or print condition.
- The visible pattern changes when one branch variable changes.
- The symptom can be reproduced with a small test instead of a full model.
- Choosing based only on popularity or price.
- Ignoring the material, nozzle, plate, and part geometry you actually use.
- Replacing a test print with opinion.
- Poor first-layer squish
- PETG over-adhesion mistaken for good grip
- Geometry stress on one oversized model
- Where the defect starts and whether it repeats at the same location.
- Whether the texture is smooth, rough, lifted, thin, blobby, or shifted.
- What changed recently: material, nozzle, plate, firmware, slicer, or printer maintenance.
- The exact slicer value that caused it.
- Whether the spool is dry, the nozzle is worn, or the config is correct.
- That a purchase is needed before the same small test is repeated.
Original visual references
Synthetic examples for fast pattern matching.
These are Print Fixes synthetic diagnostic references, not user-submitted photos. Use them to compare shape and location, then confirm with the test or log evidence on this page.
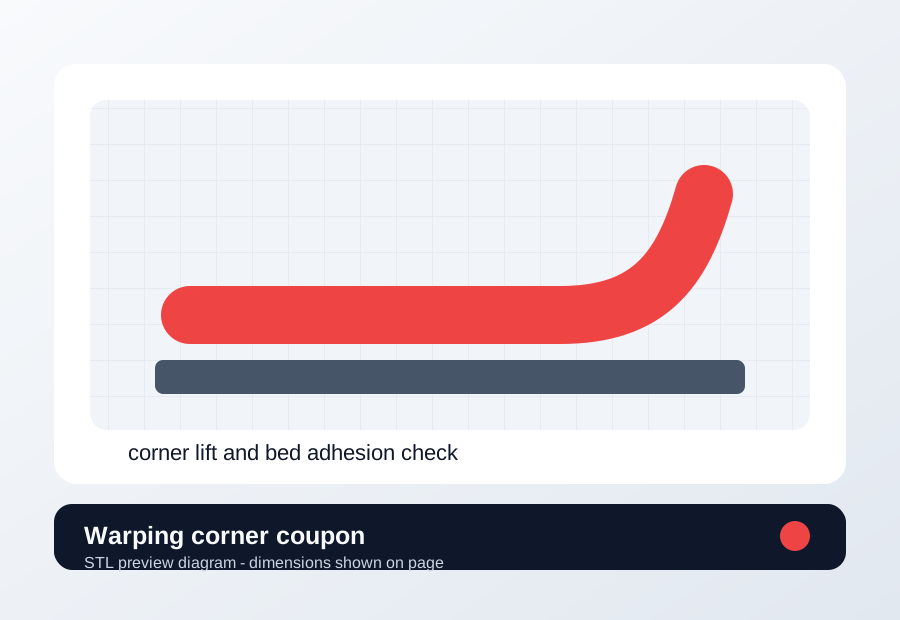
Download a quick test
Warping corner coupon
Use when corners lift, a plate area is suspect, or enclosure/bed temperature changes need proof.
- File
- STL
- Typical time
- 18-25 min
- Material
- Same material that lifted
- Dimensions
- 70 x 70 x 4 mm
- Footprint
- 70 x 70 mm
- Height
- 4 mm
- Layer height
- 0.20 mm unless the page says first-layer only
- Infill
- 10-15%
- Walls
- 2
- Supports
- Off
- Speed
- Use current profile for baseline, then change only the proven variable
- Material and spool
- Nozzle size
- Bed surface
- Every slicer value except the one variable being tested
- Start without brim
- Keep fan and bed temperature unchanged first
- Use the same plate area for before/after
Recommended Checks
0/4 doneVerification
- Repeat the same test model or the same problem area after the change.
- Compare before and after photos, print time, surface quality, and failure location.
- Keep the previous profile until the new value passes at least two similar prints.
- For firmware or heater-related issues, confirm logs stay clean after a safe heat or motion test.
Field guide
Follow the branch that matches your print
Corners lift during the first few layers.
- Likely cause
- Dirty plate, weak first-layer squish, or too-cold bed.
- First test
- Wash the plate and run the corner coupon.
- Change only this
- Change only cleaning or Z offset first.
- Verify with
- No-brim coupon corner timing.
- Stop when
- Corners stay down through first layers.
Edges curl after the part gets taller or during cooldown.
- Likely cause
- Cooling stress, large flat geometry, fan, or chamber conditions.
- First test
- Repeat the corner coupon with unchanged first layer.
- Change only this
- Change only fan, enclosure, or bed/chamber condition.
- Verify with
- Coupon through cooldown.
- Stop when
- Late lift stops without over-squishing first layer.
ASA or ABS lifts despite a decent first layer.
- Likely cause
- Draft, chamber temperature, or insufficient enclosure.
- First test
- Run a small coupon in the same enclosure state.
- Change only this
- Change only enclosure/draft control.
- Verify with
- Same coupon location.
- Stop when
- Lift reduces without glue masking the issue.
Only broad flat models warp while small parts pass.
- Likely cause
- Geometry stress and sharp corners exceed the current setup.
- First test
- Print the coupon and then add brim/relief only if needed.
- Change only this
- Change only brim/part orientation/geometry aid.
- Verify with
- Coupon and one representative corner.
- Stop when
- The representative part stays flat.
PETG sticks too hard even when warping is gone.
- Likely cause
- Surface release risk is replacing adhesion failure.
- First test
- Cool fully and compare a release patch.
- Change only this
- Change only release strategy.
- Verify with
- Release force and plate marks.
- Stop when
- Part releases without surface damage.
Concrete Parameter Range
| Setting | Start | Range | Change when | Stop when | Too far looks like |
|---|---|---|---|---|---|
| Bed temperature | Material baseline | PLA 55-65 C, PETG 70-85 C, ASA/ABS 90-110 C | Corner coupon lifts | Corners stay down through cooldown | Elephant foot, PETG over-bonding, or soft first layer |
| First-layer Z | Known-good value | 0.02 mm steps | Lift begins in first layers | First-layer lines bond without ridges | Scraped surface or hard-to-remove PETG |
| Fan / cooling | Current material profile | Reduce in 10-20% steps for warp-prone materials | Lift happens after height builds | Edges stay flat without weak layers | Poor bridges, sag, or heat creep if overdone |
| Brim / geometry aid | No brim baseline | 5-8 mm brim after first-layer proof | Large flat parts lift but coupon diagnosis is clear | Representative part stays flat | Hard cleanup or masked first-layer problem |
Material / Machine Differences
Wrong Turns
Stop tuning when
Do not keep chasing perfection after the signal is clear.
- The same small test improves after one documented change.
- The symptom turns into a different failure family; switch branches instead of stacking edits.
- A safety, heater, wiring, or firmware warning appears; stop printing and use the safe diagnostic path.
Common setups
Jump to the branch that matches your machine or material
Copy before changing more settings
PETG vs ASA For Outdoor Parts diagnostic brief
Fill this out after the first test so the next branch is based on evidence, not memory. The useful case is the one where only one variable changed.
Page: PETG vs ASA For Outdoor Parts
Printer:
Slicer:
Firmware:
Material / brand / color:
Nozzle size / material:
Bed surface:
Exact symptom or error text:
Recent change:
First test run:
One variable changed:
Result:
Next branch:Still not matching?
Jump to the next likely diagnosis
Problem Pattern
PETG vs ASA For Outdoor Parts is useful when both options can work, but one fits your material, printer, part geometry, and maintenance tolerance better.
Likely Causes
- The better option depends on material, geometry, printer limits, and maintenance tolerance.
- A spec-sheet advantage may not matter for the part being printed.
- Changing one setup variable may require recalibrating temperature, flow, or speed.
- The decision is being made without a representative test print.
Print Context
- Page type
- comparison
- Best first move
- Reproduce the issue on a small test, then change one variable.
After the test
Use the result, do not keep changing random settings.
If one check clearly changes the print, repeat that exact test once before moving on. If nothing changes, switch diagnosis instead of stacking more slicer edits.
Only after the evidence points here
Parts and supplies for the proven branch
Filament dryer or dry box
Print the same small stringing or surface test before and after a controlled dry cycle, without changing slicer values.
- Buy signal
- Popping, steam marks, rough surface, weak layers, or fine hairing improves on the same spool after drying.
- Skip if
- The spool prints clean after a simple temperature step or seam move.
- Save evidence
- Before/after photo, material, drying temperature/time, room humidity if known, and unchanged slicer settings.
Drying is a purchase only when moisture signs survive one controlled slicer change.
- Adjustable temperature
- Fan circulation
- Spool clearance for the material you use
- Print-while-drying path if TPU/PETG stays loaded
- Passive storage box for a spool that is already wet
- A dryer purchase when a 5 C temperature step fixed the stringing
Nozzle and cleaning kit
Run a hot extrusion or cold-pull check, then print a small flow wall with the same filament and temperature.
- Buy signal
- Extrusion curls, skips, or stays inconsistent after cleaning, or a brass nozzle has seen abrasive filament.
- Skip if
- The problem is only first-layer Z, bed mesh, or wet filament.
- Save evidence
- Free-air extrusion photo, cold-pull result, nozzle size/material, filament type, and whether flow changed after cleaning.
Replace the nozzle only after the extrusion path test makes the blockage or wear visible.
- Correct nozzle thread and length
- Brass for normal PLA/PETG
- Hardened steel or similar only for abrasive filaments
- Cleaning needles sized for the nozzle
- Hardened nozzles as a first-layer fix
- Random nozzle packs that do not match the hotend
Print Fixes may earn from qualifying purchases when commerce links are configured. Diagnostic steps stay independent: buy only when the failure evidence points to the part.
Warnings
- Do not choose only by popularity or price.
- A different nozzle, plate, enclosure, or filament brand can change the answer.
- Comparisons should end in a test, not an argument.
- Choosing between two setup options before wasting a spool or plate surface.
- Understanding the tradeoff that affects the next real print.
- Choosing based only on popularity or price.
- Ignoring the material, nozzle, plate, and part geometry you actually use.
More traps to avoid
- Changing several slicer settings at once and losing the actual cause.
- Ignoring filament condition or bed cleanliness while tuning advanced values.
- Keeping one global profile for different materials, brands, colors, and nozzle sizes.
Bench Note
Page: PETG vs ASA For Outdoor Parts
Printer / firmware:
Slicer profile:
Filament brand and material:
Nozzle size:
Bed surface:
Recent changes:
Result to compare next:
FAQ
How should I choose between these options?
Choose based on your material, part geometry, printer limits, maintenance tolerance, and the test print you can actually run.
What should decide the winner?
A representative print or maintenance outcome, not only a spec sheet.
Can the answer change later?
Yes. A different nozzle, enclosure, material brand, or bed surface can flip the tradeoff.